
![]()
![]()
Oct 2012 - The following instructions are only for Mac OS 10.7 or below. Apple changed CUPS and the option under Advanced to list CUPS printers is no longer available.
By default, Apple does not enable CUPS (Common UNIX Printing System) administration on a Mac. However, it is relatively easy to setup.
| 1) Launch any browser of your choice. | |
| 2) Enter the following address: localhost:631 into the address space and hit <Enter>. |
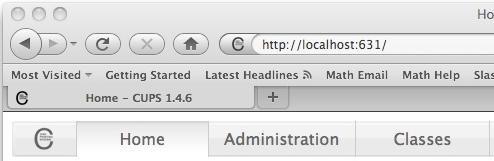 |
| 3) Click on the Administration tab, between the Home and Classes tab. This will take you to the Administration page. | |
| 4) On the right hand side under Server, click on the Advanced link under Server Settings to show the needed settings. |
 |
| 5) Select "Show printers shared by other system" and then select "CUPS". |
|
| 6) The rest of the settings should not be adjusted. |
|
| 7) Click on the Change Settings button and you'll get notice that the system is updating. It will take up to a few minutes for the Mac to catch all the printer broadcasts to list all available printers, so wait a minute or two before continuning. | |
| 8) Now go to the System Properties and click on the "Print & Fax" app. You should now see several printers listed. Scroll down until you see the "Public use HP LaserJet 9050 in PGH-644" printer. | 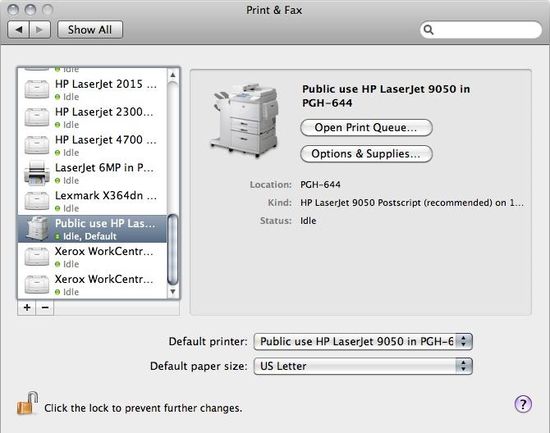 |
| 9) You should not need to make any changes to the Options for the printer, but if you do not have your own printer, you may want to set the Default Printer to use the "Public use HP LaserJet 9050 in PGH-644" printer. Be sure that the Deafult Paper Size is set to "US Letter", as the printer does not accept any other sizes. | |
That's it!! If you have any problems, contact the
![]()